Renovation Week 2
The goal of this week is to remove all the remaining interior partition walls and other attached parts which are no longer needed and fully erect the new partition walls, especially the office, change rooms and bathrooms.
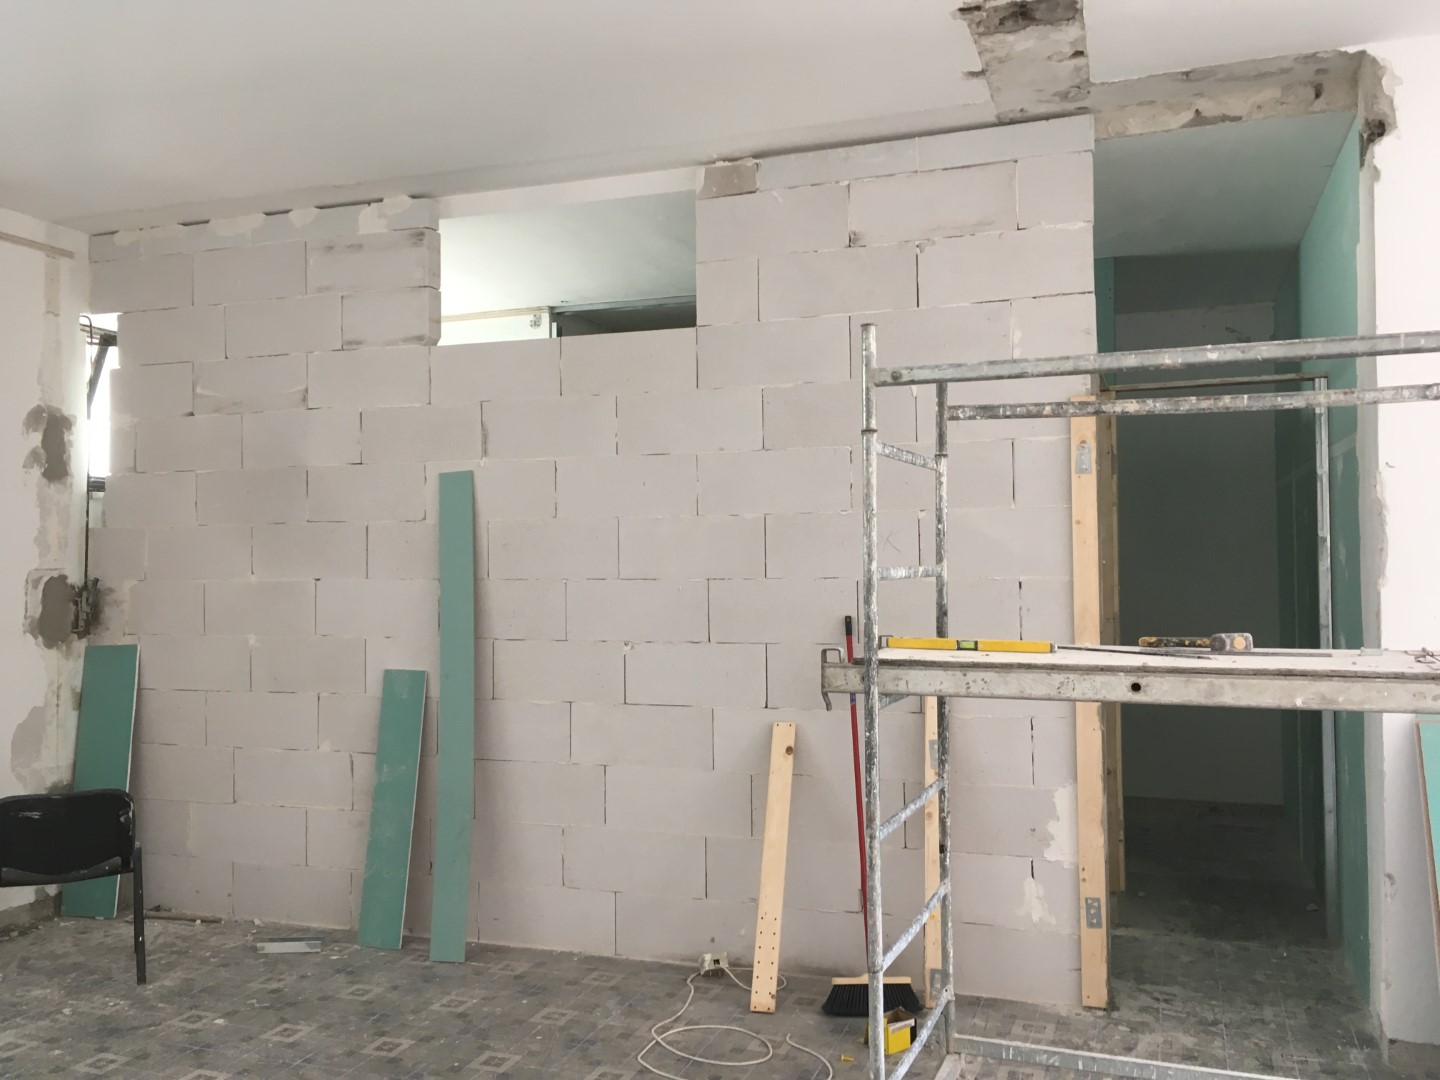
The change room wall separating it from the main space
After the change room walls are fully erected, we realized that the interior change room does not get any natural lights if the bathroom door is closed. Hence we decided to make on top a 190cm x 65cm opening is made for a window to allow more natural lighting.

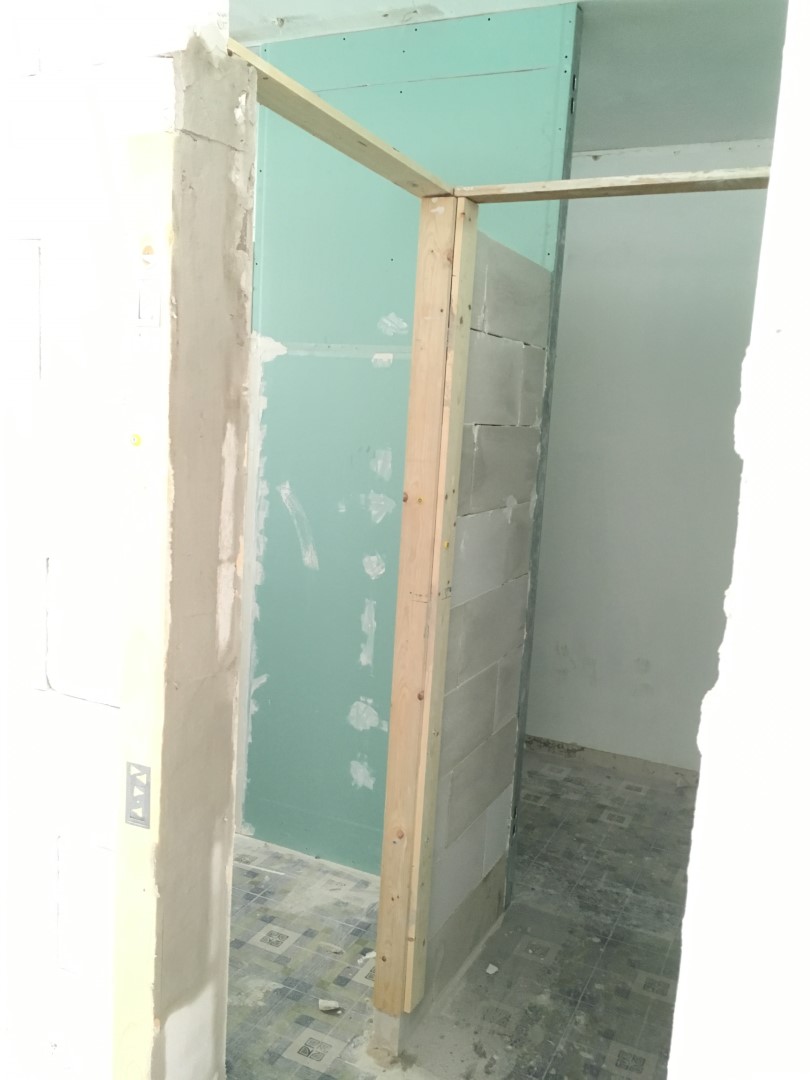
The other wall between the two change rooms.
Given the limited space we have, I originally did not want to devote much space to change rooms, showers, and bathrooms, but these are useful to have, so in end we built two separate change rooms, each has its own showers and bathrooms.
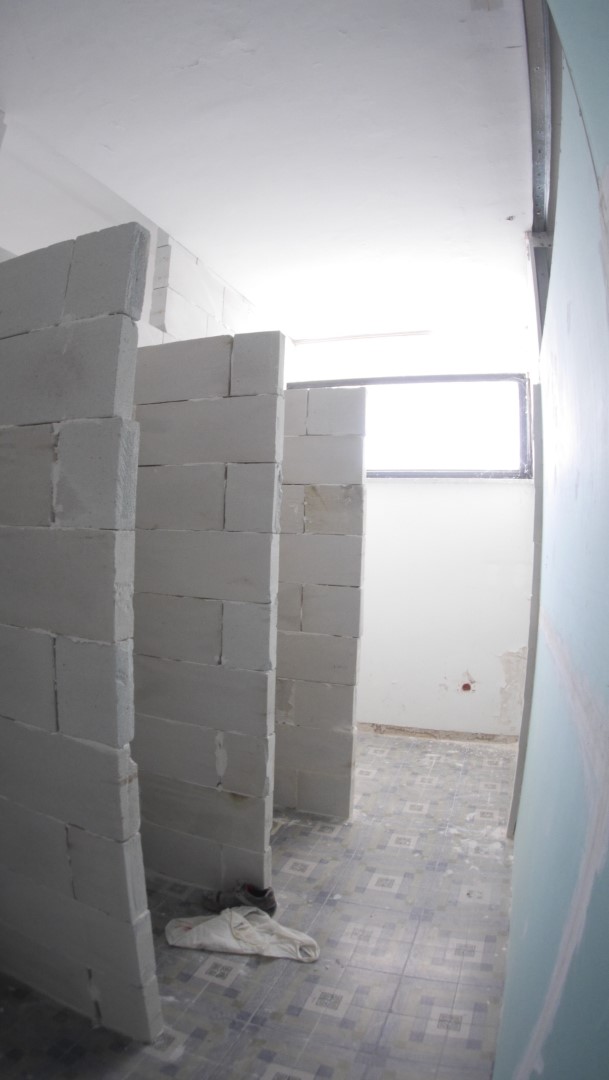
A small corridor leading to two change rooms (left and front)
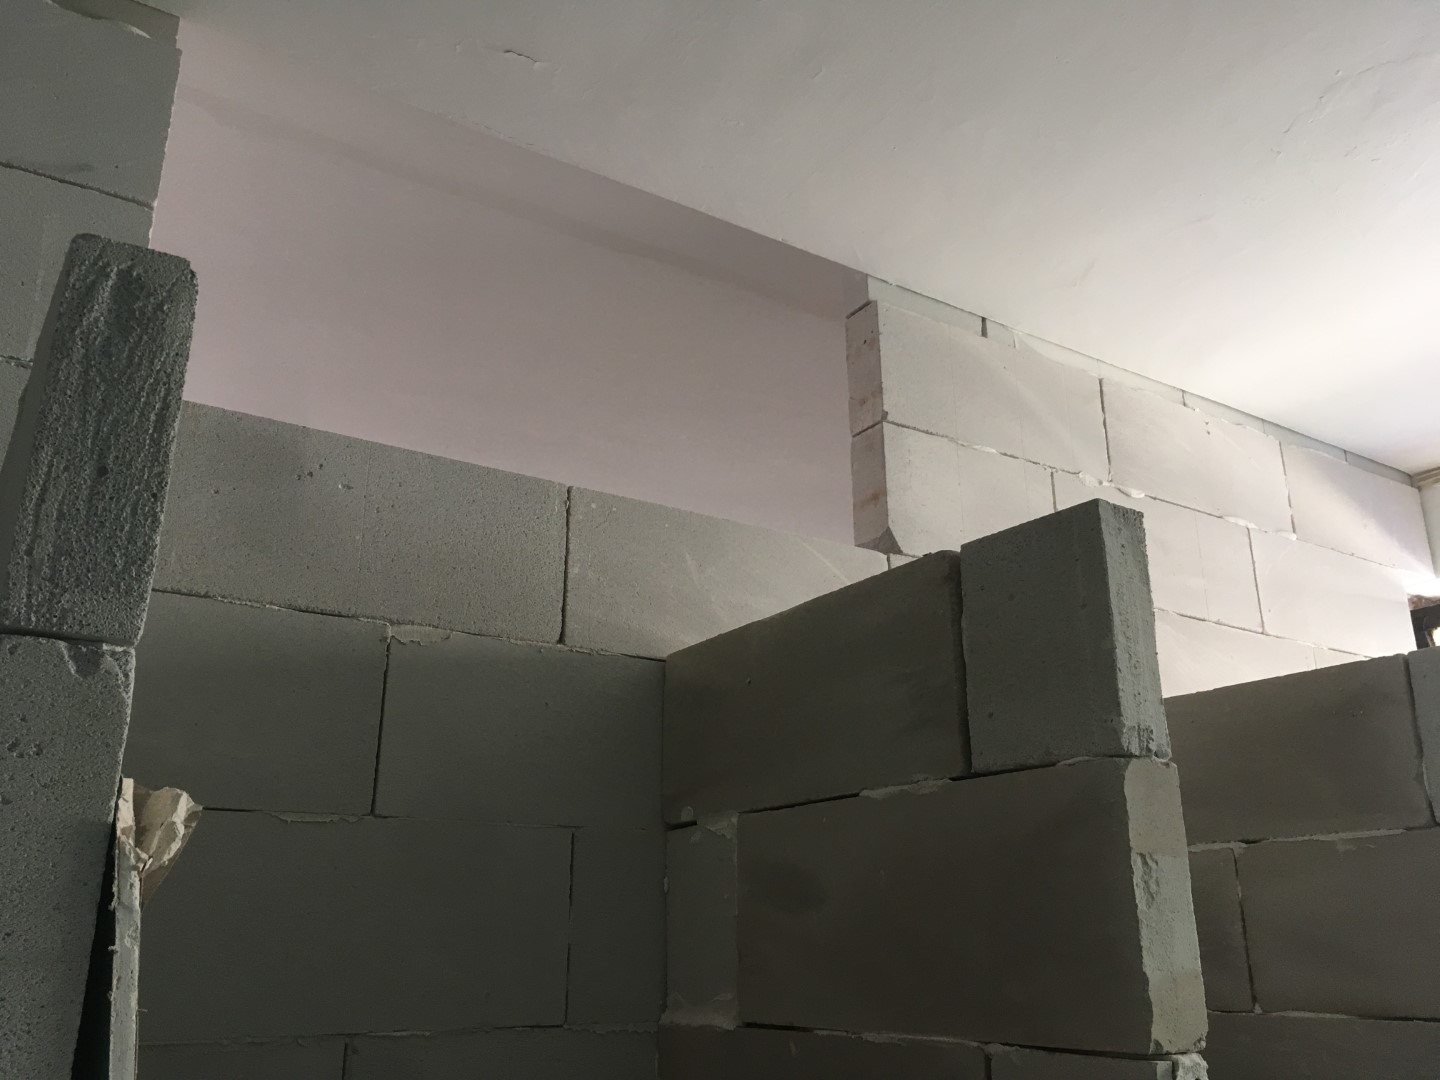
A smaller window space for the wall between the change room and main
room
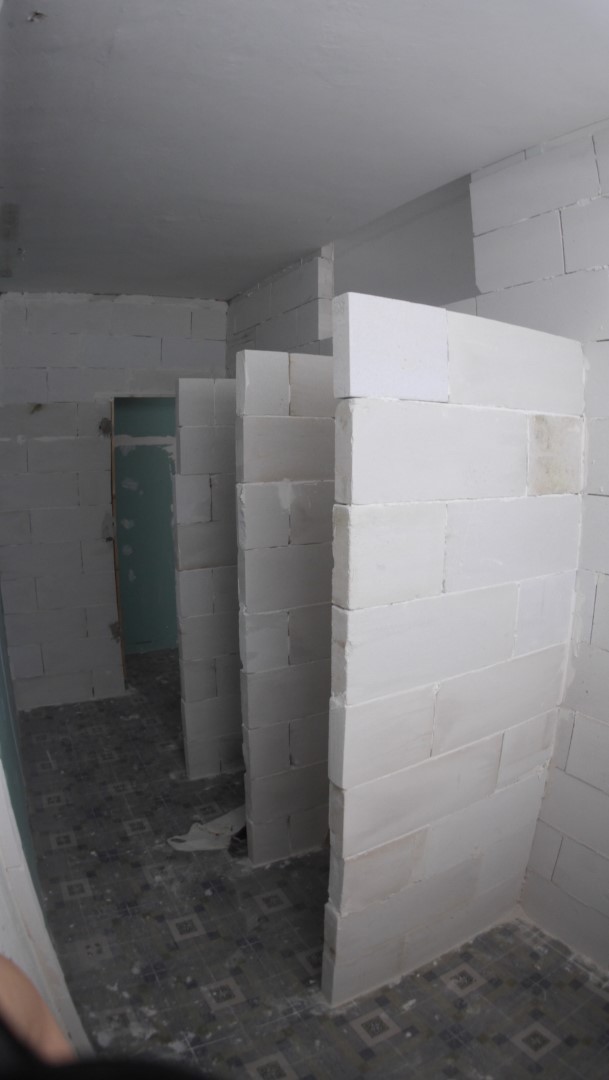
Shower stalls from two different angles for the bigger change room
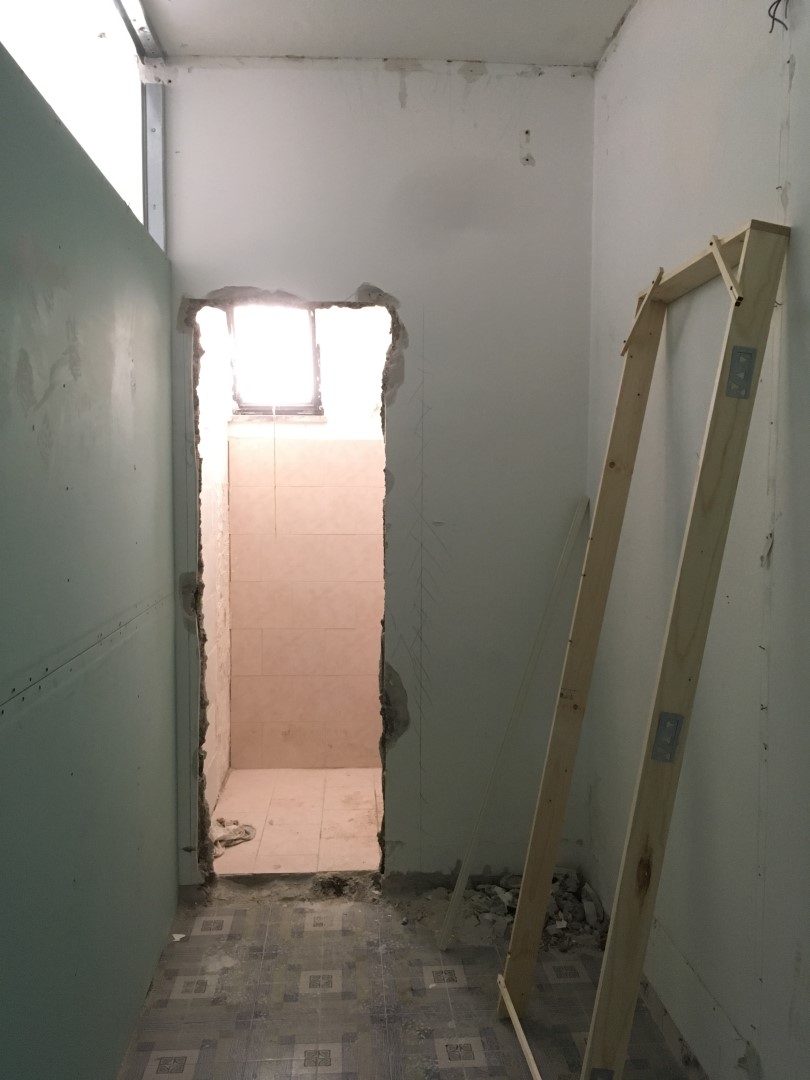
Old bathroom with a new door opening and shower stalls for the smaller
change room

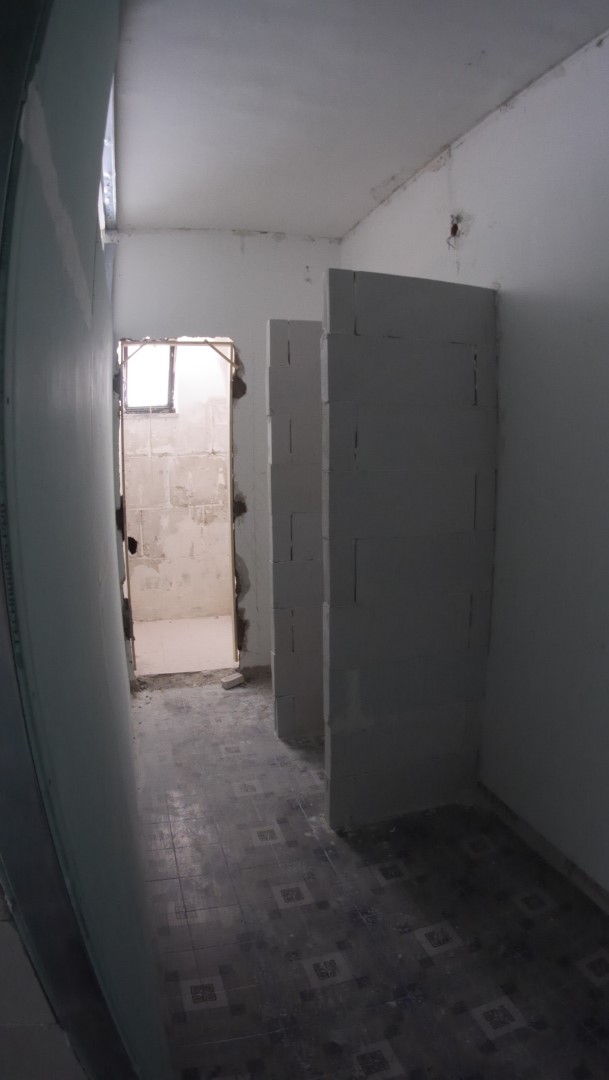
Old bathroom with a new opening, its wall with tiles removed
During the work with the supporting column, we found part of it is not structural and merely decorative. It was a box covering up the old iron pipes carrying water from an deactivated centralized heating system from many years ago. Since it is no long in use, we decided to remove it.
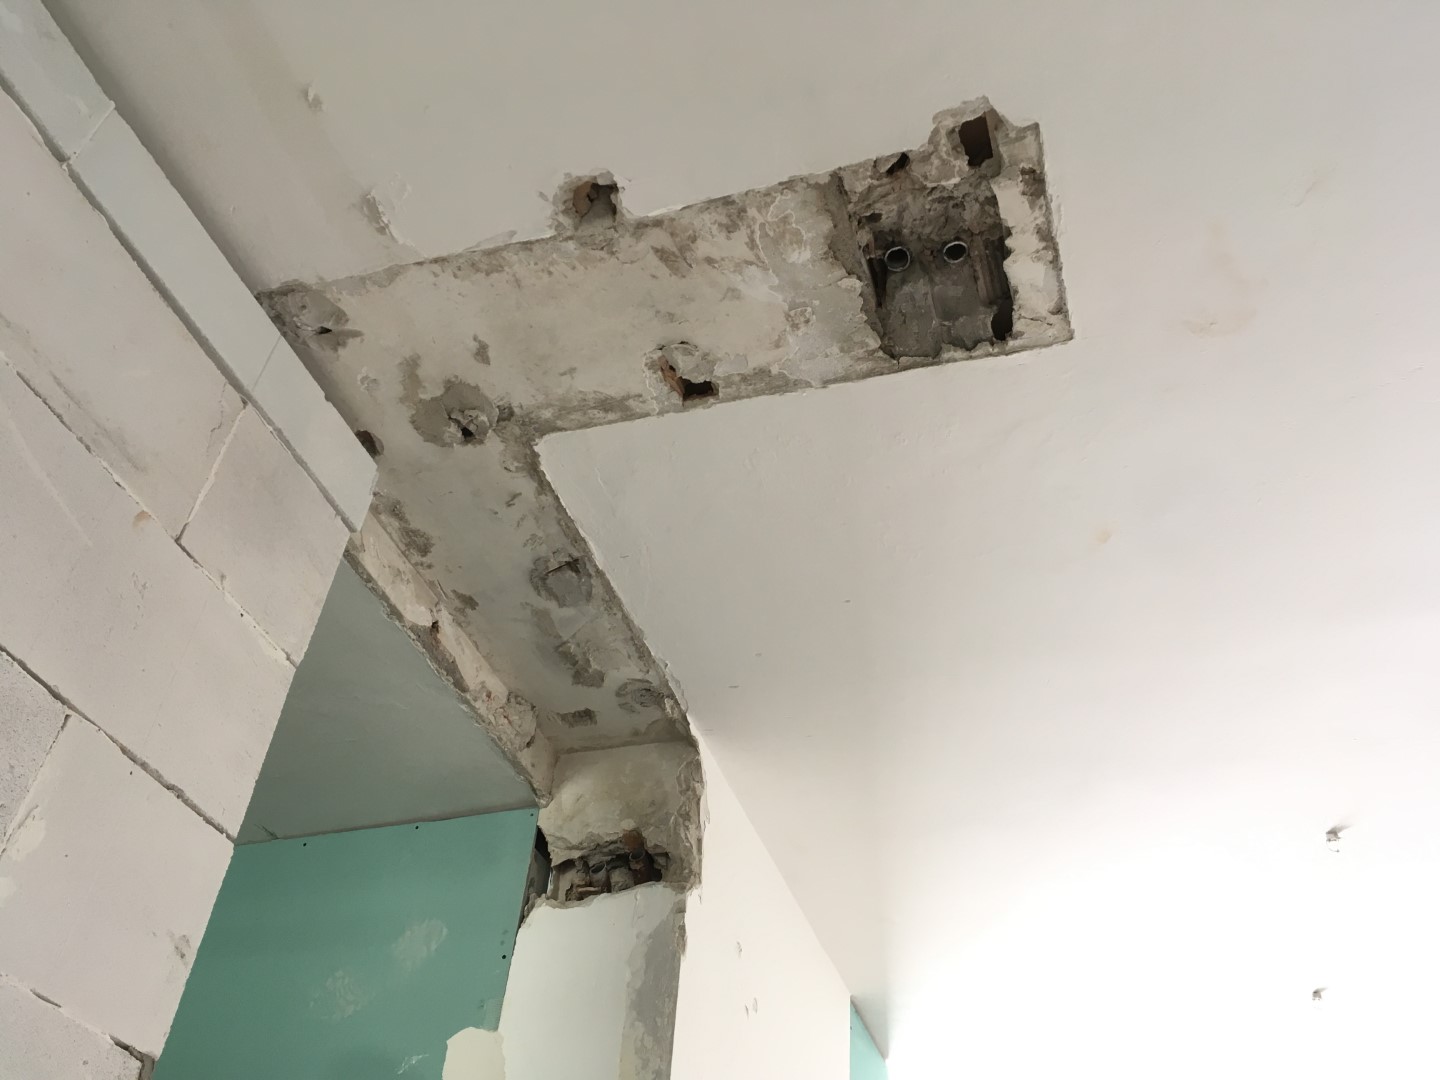
Old central heating pipes removed
By the end of week one, we can already see the partition walls of the change rooms and office. Week two will have more complex as the new plumbing and electrical system will be installed from scratch. We will have to purchase plumbing supplies, toilets, sinks, shower stalls, ceramic tiles for all wall surfaces, paint, electrical wires, outlets, switches, etc.
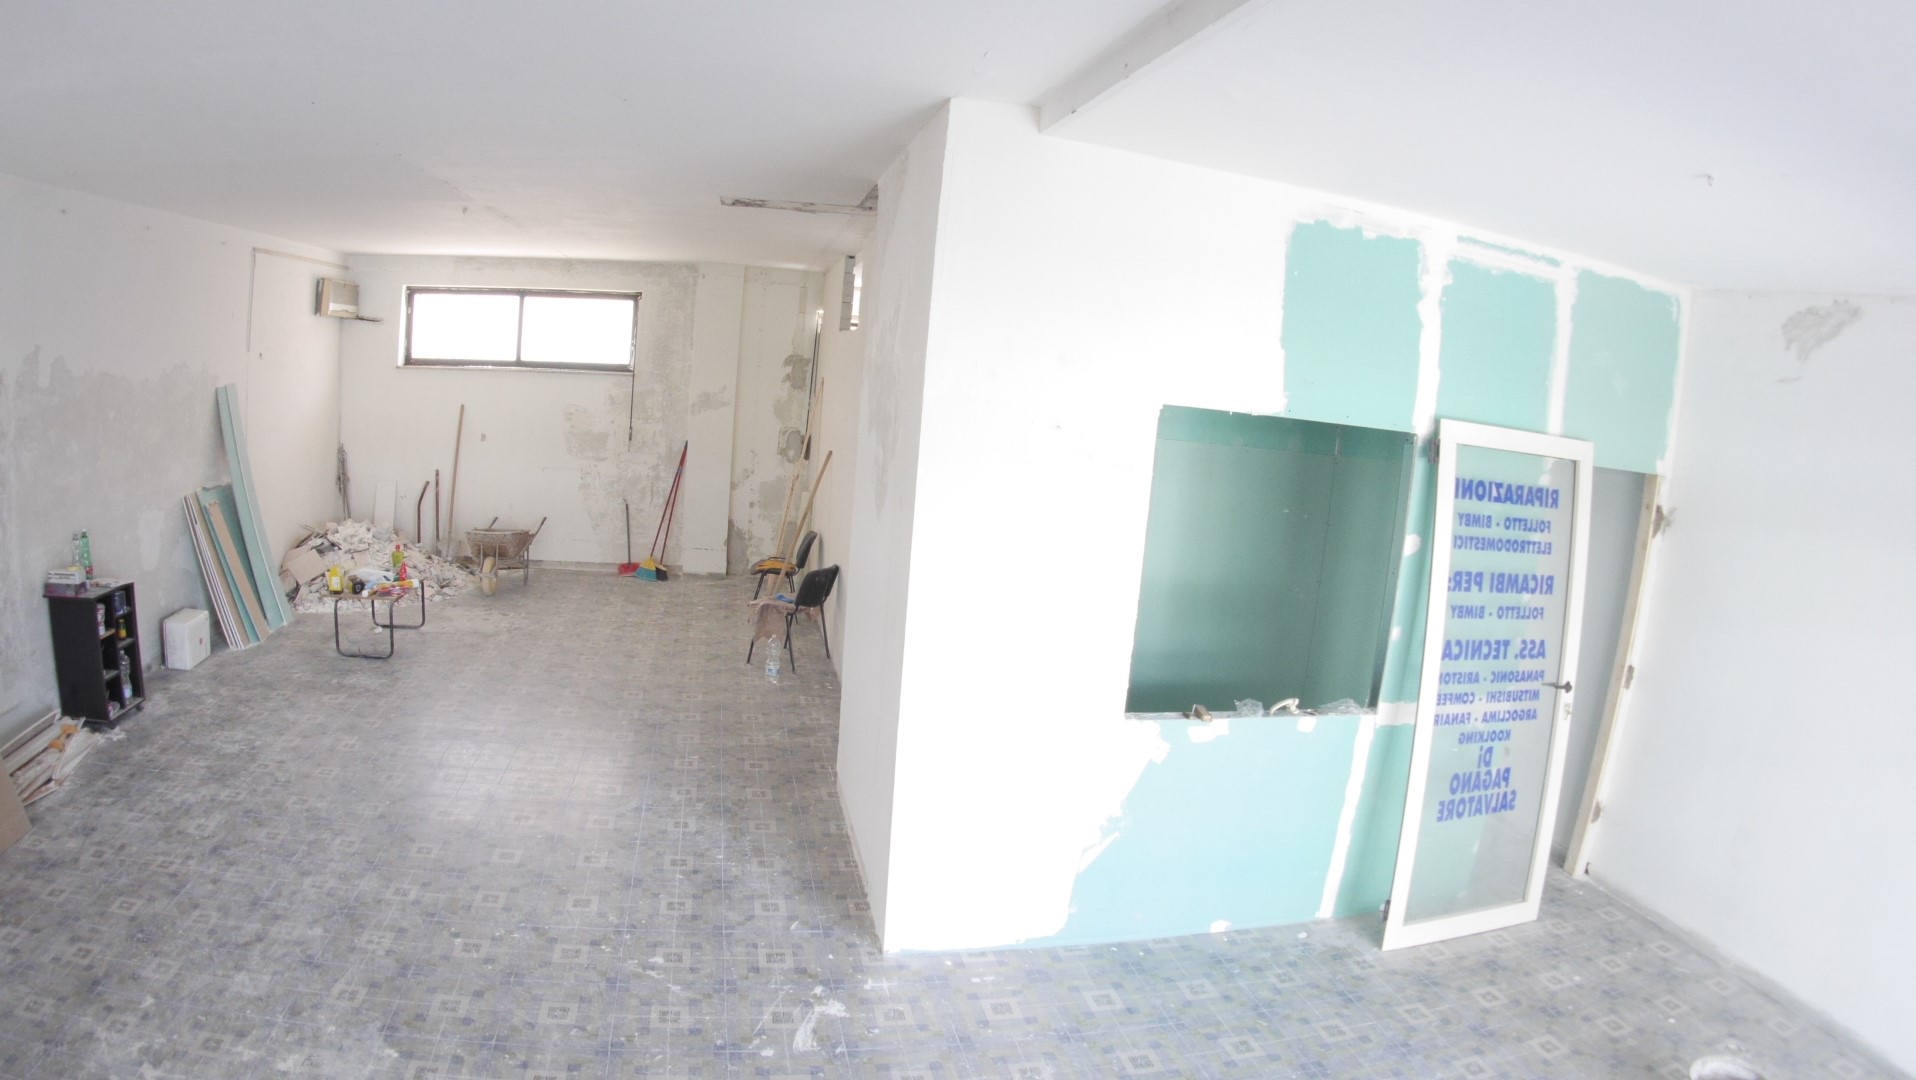
View of both entrances from inside
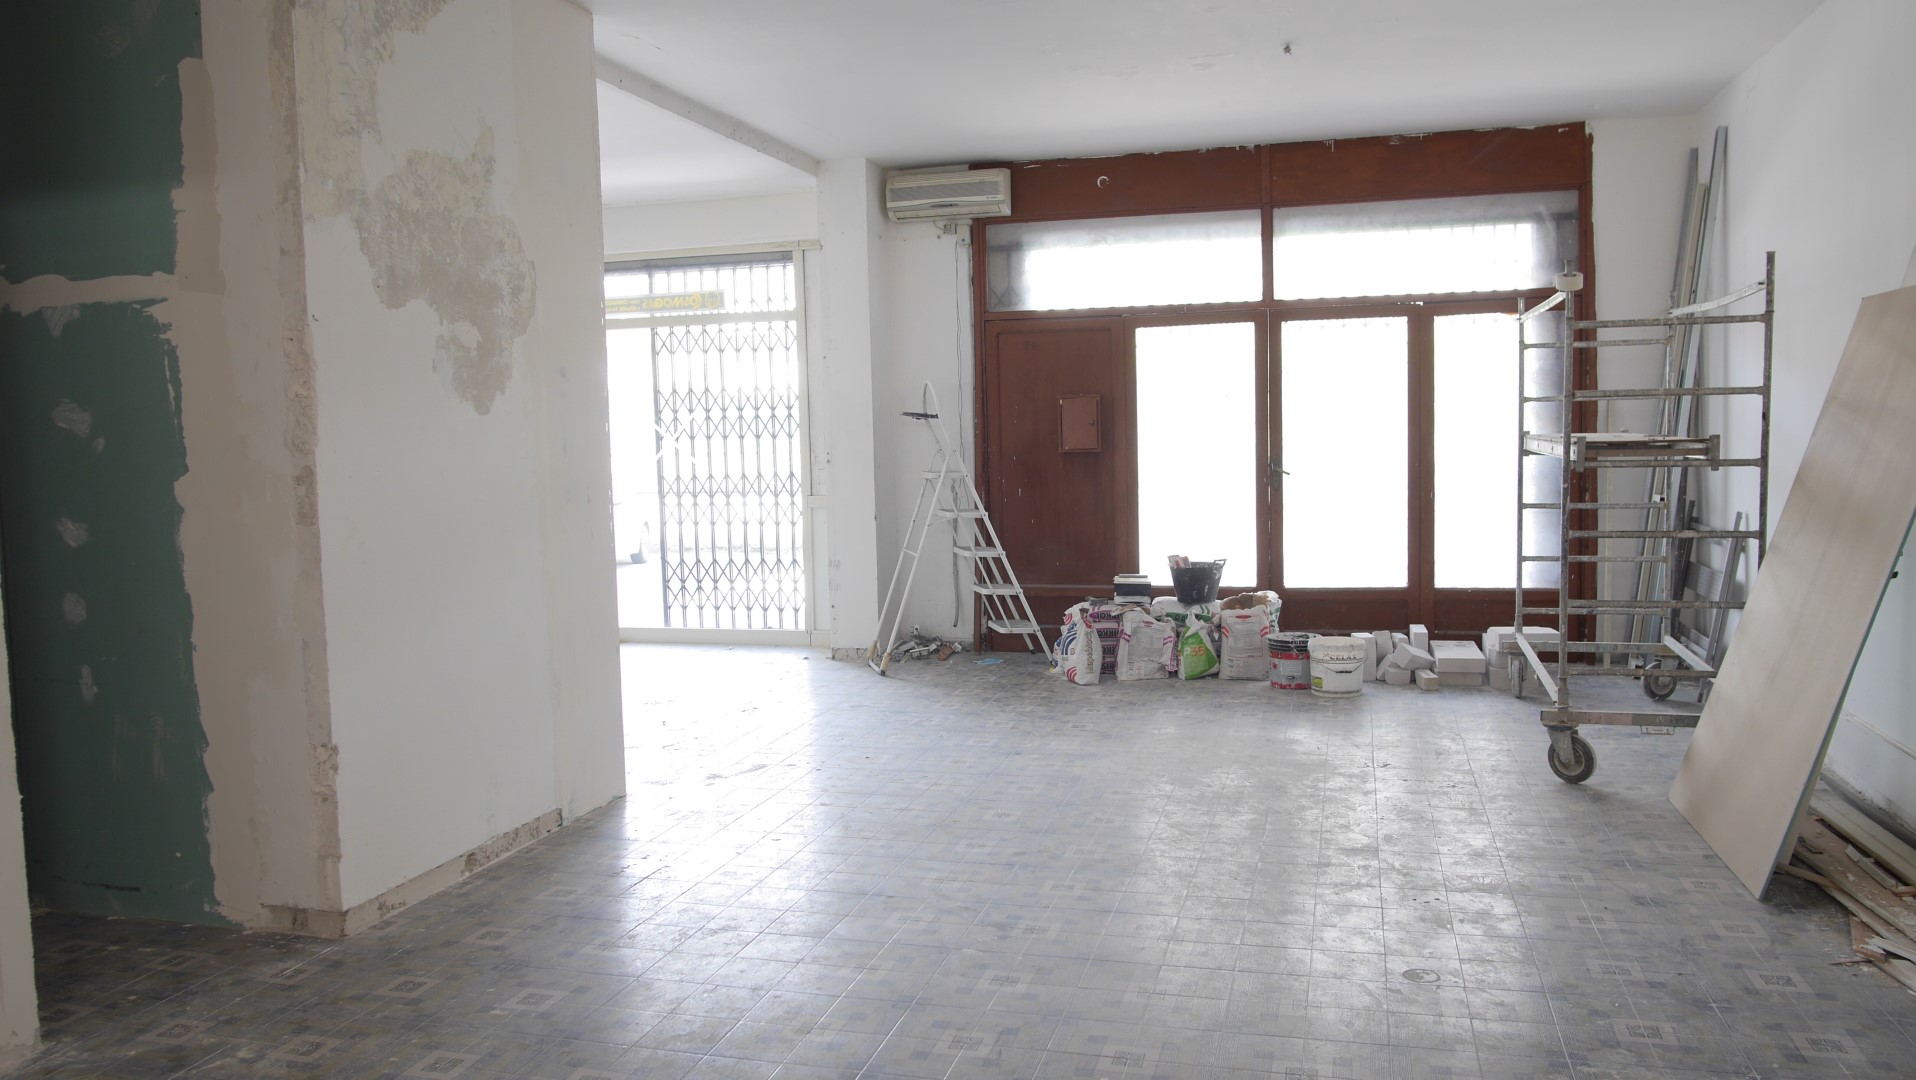
View of the whole space from the entrance
The previous tenant had left an aluminum frame with windows and a door. However it is not exactly to the measurement of the space of what I intend to use as the main entrance. Thanks for the versatile pastor Antonio who could adapt it to make it fit. It helped to save us at least few hundred euros. The only thing is that the previous tenant had removed the largest glass pane which was cracked, so I had to get the glass makers to replace it for around 200 euros.
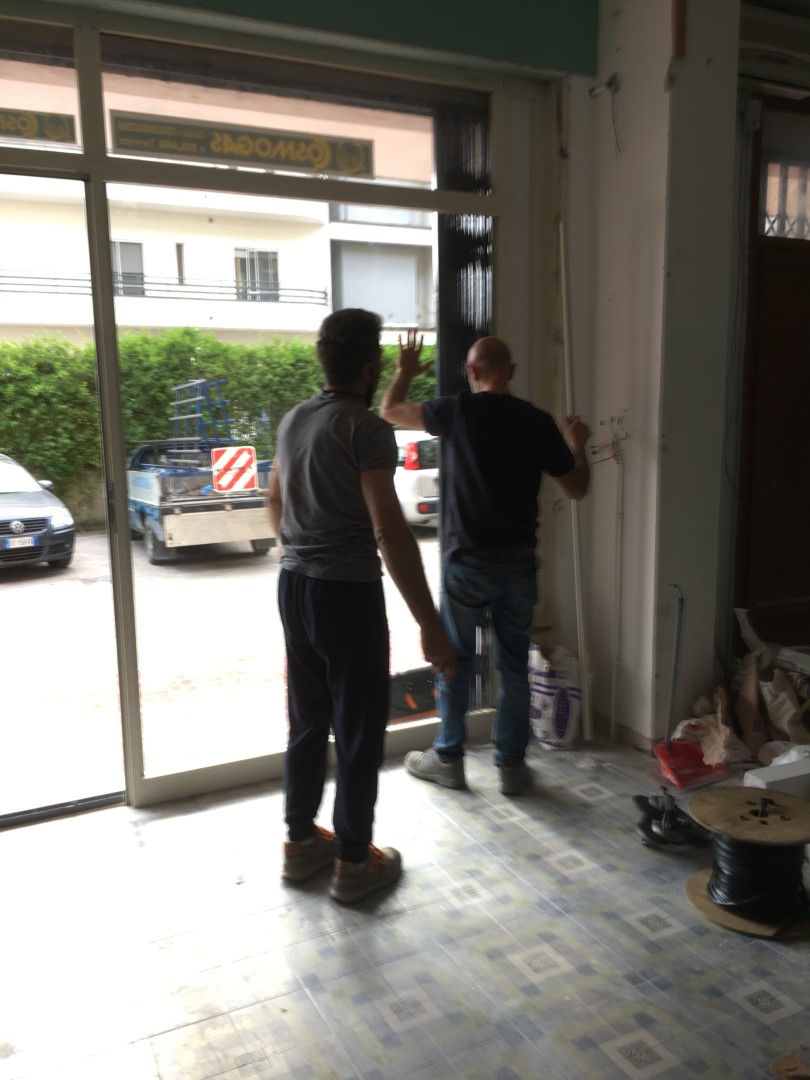
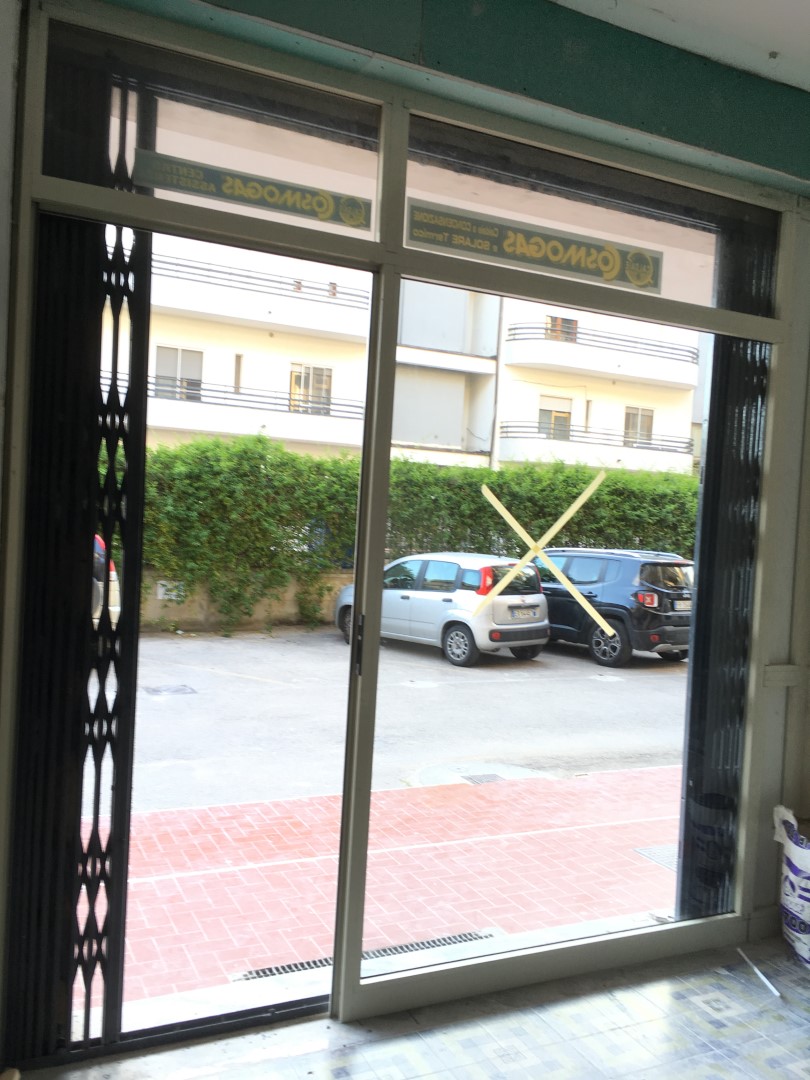
The glass workers replacing the largest glass plane with a new one. Had to
put a sign on it to avoid my workers walk into it tomorrow as they were used
to it not having a glass.