Renovation Week 4: June 7 - 11th
At the beginning of this renovation project, I thought we would be done with all
the work at this point, but there is still much work to be done, and by the end
of this week we would be more than 70% to the finish line. The focus of this
week is on completing the plumbing for the change rooms and bathrooms as much as
possible. The plumber, who is a pastor, is the best competent person on the team
with a wealthy of experience and wisdom in construction and beyond.
At
his recommendation, to accomodate and control the water flow to 4 sinks, 4
showers, 2 toilets, 1 bidet and 1 possible washing machine, the best choice is
to centralize the valves.
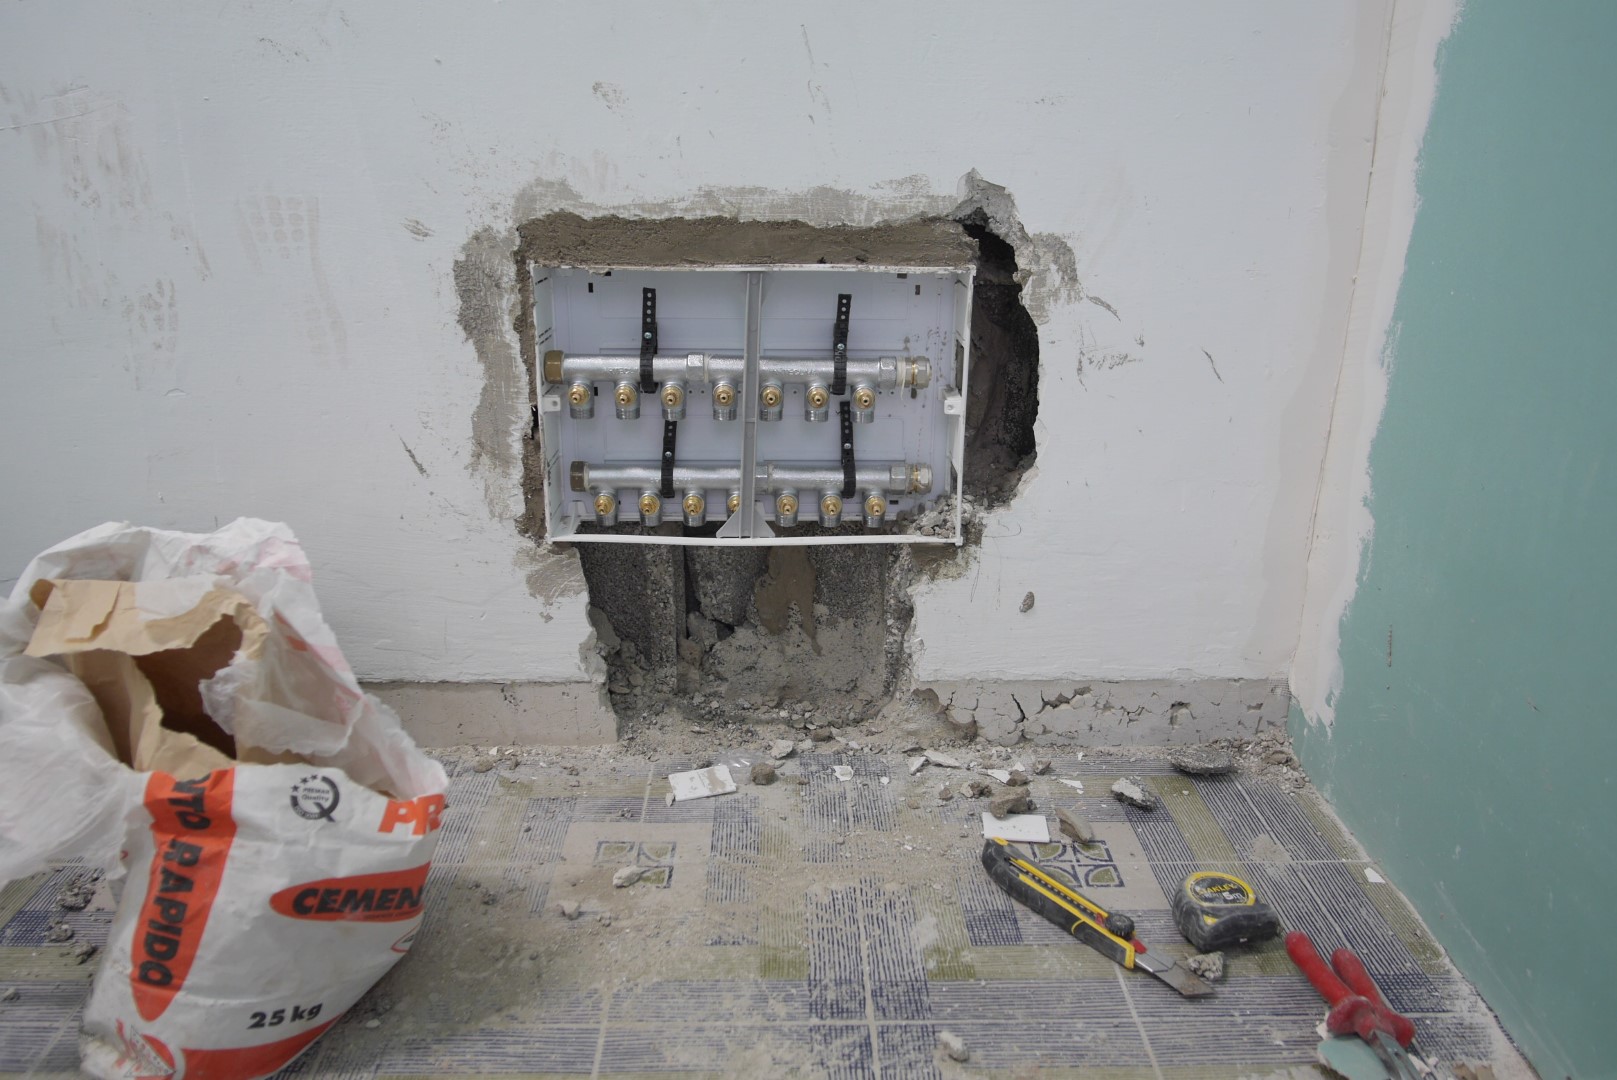
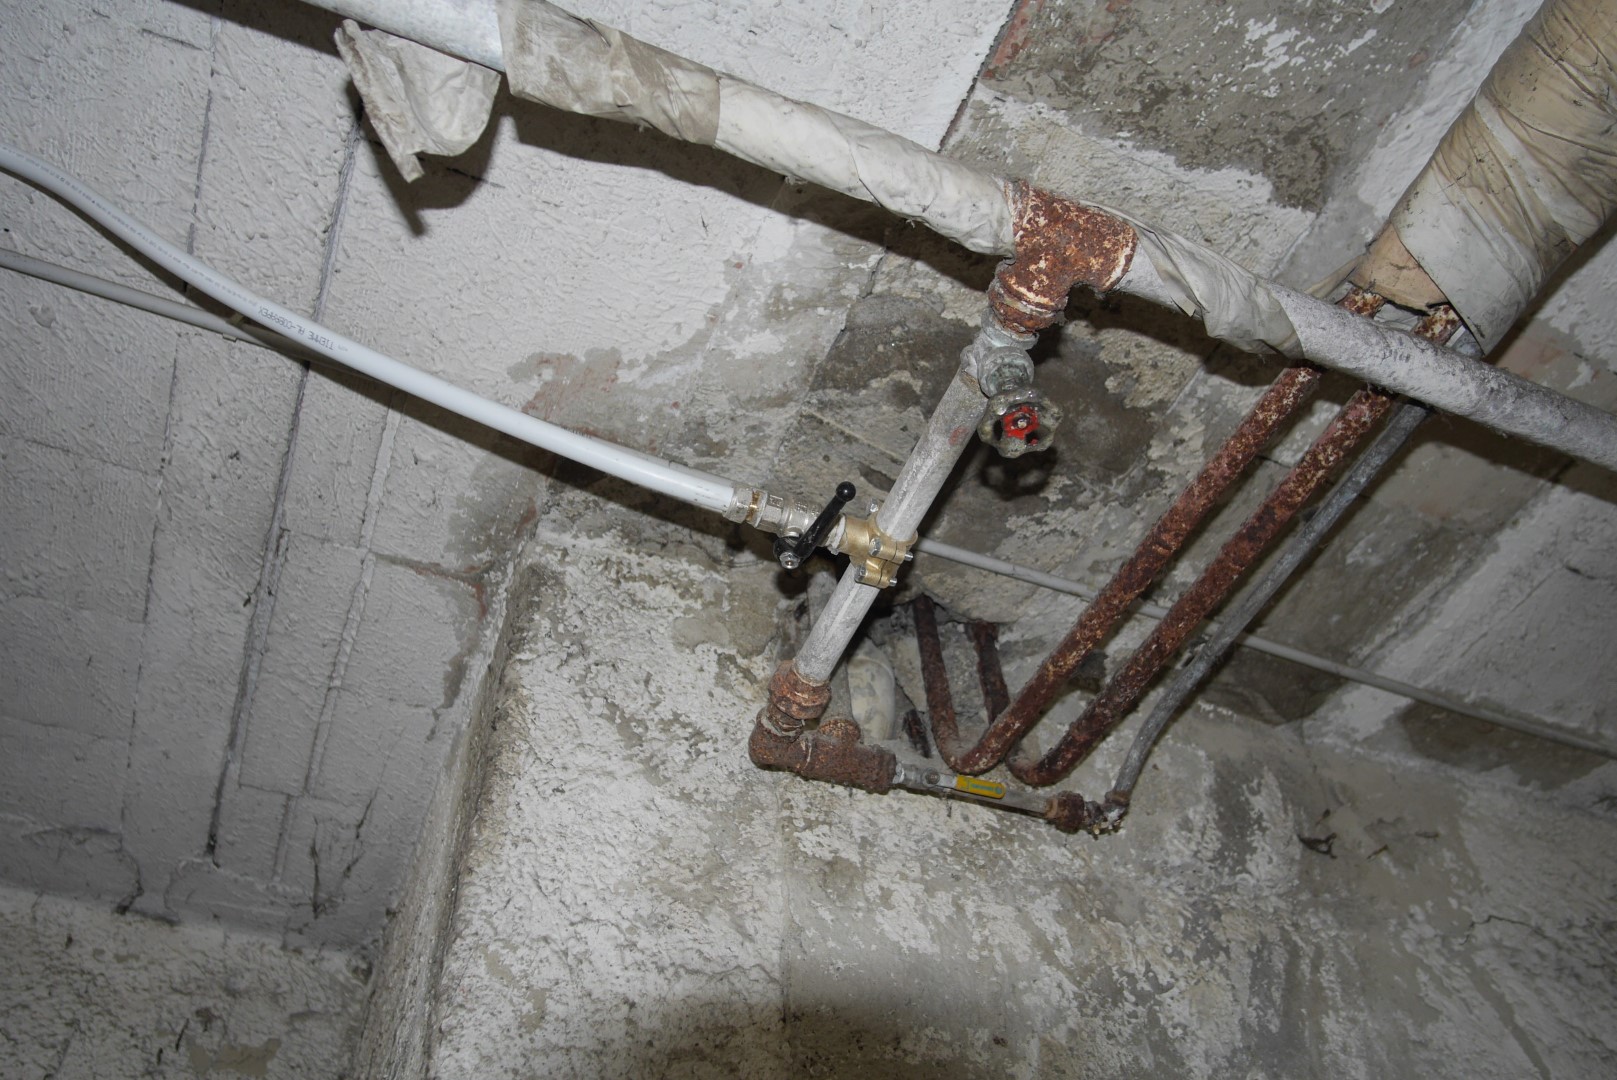
Centralized water valve control, using top-quality Italian product
All the sanitary products were removed from the original bathroom, and the plumber created a new design for the junctions to allow more sources to discharge into the waste water pipe.
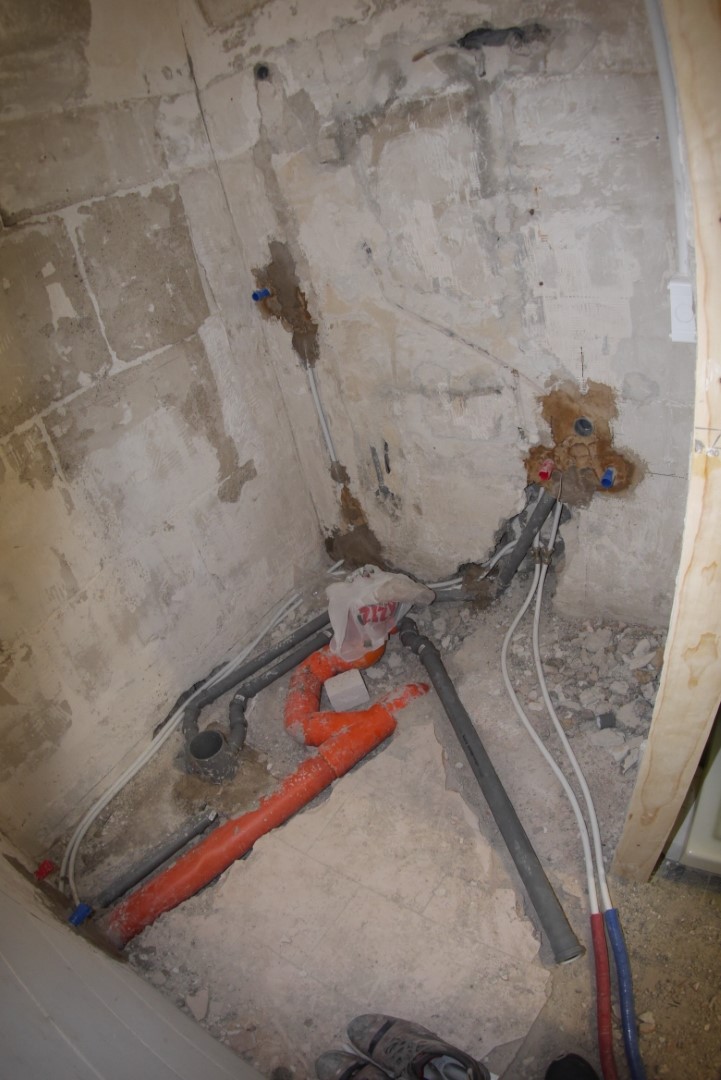
Original sewer pipe modified with new design allowing other discharge
sources to be connected (left)
New change room water tubes and plumbing
(right)
Earlier during the project, when attempting to locate the sewer pipe, the plumber hit a reinforced concrete piece and accidentally broke the clean water tube. Some water leaked to the garage of a neighor who keeps a classic Jaguar in it. It caused a big argument between the neighbor and my workers. Fortunately no damage occurred. I relied on the original engineer's informal survey and thought that we would not have to deal with anyone's garage to do our work to re-route the pipes. Unfortunately a small section is in the corner of that garage.
To avoid future problems, and to improve water pressure. The plumber decided to close off the pipe carrying water to my unit and re-route it from another water piple outside that garage in a public area easy to access.
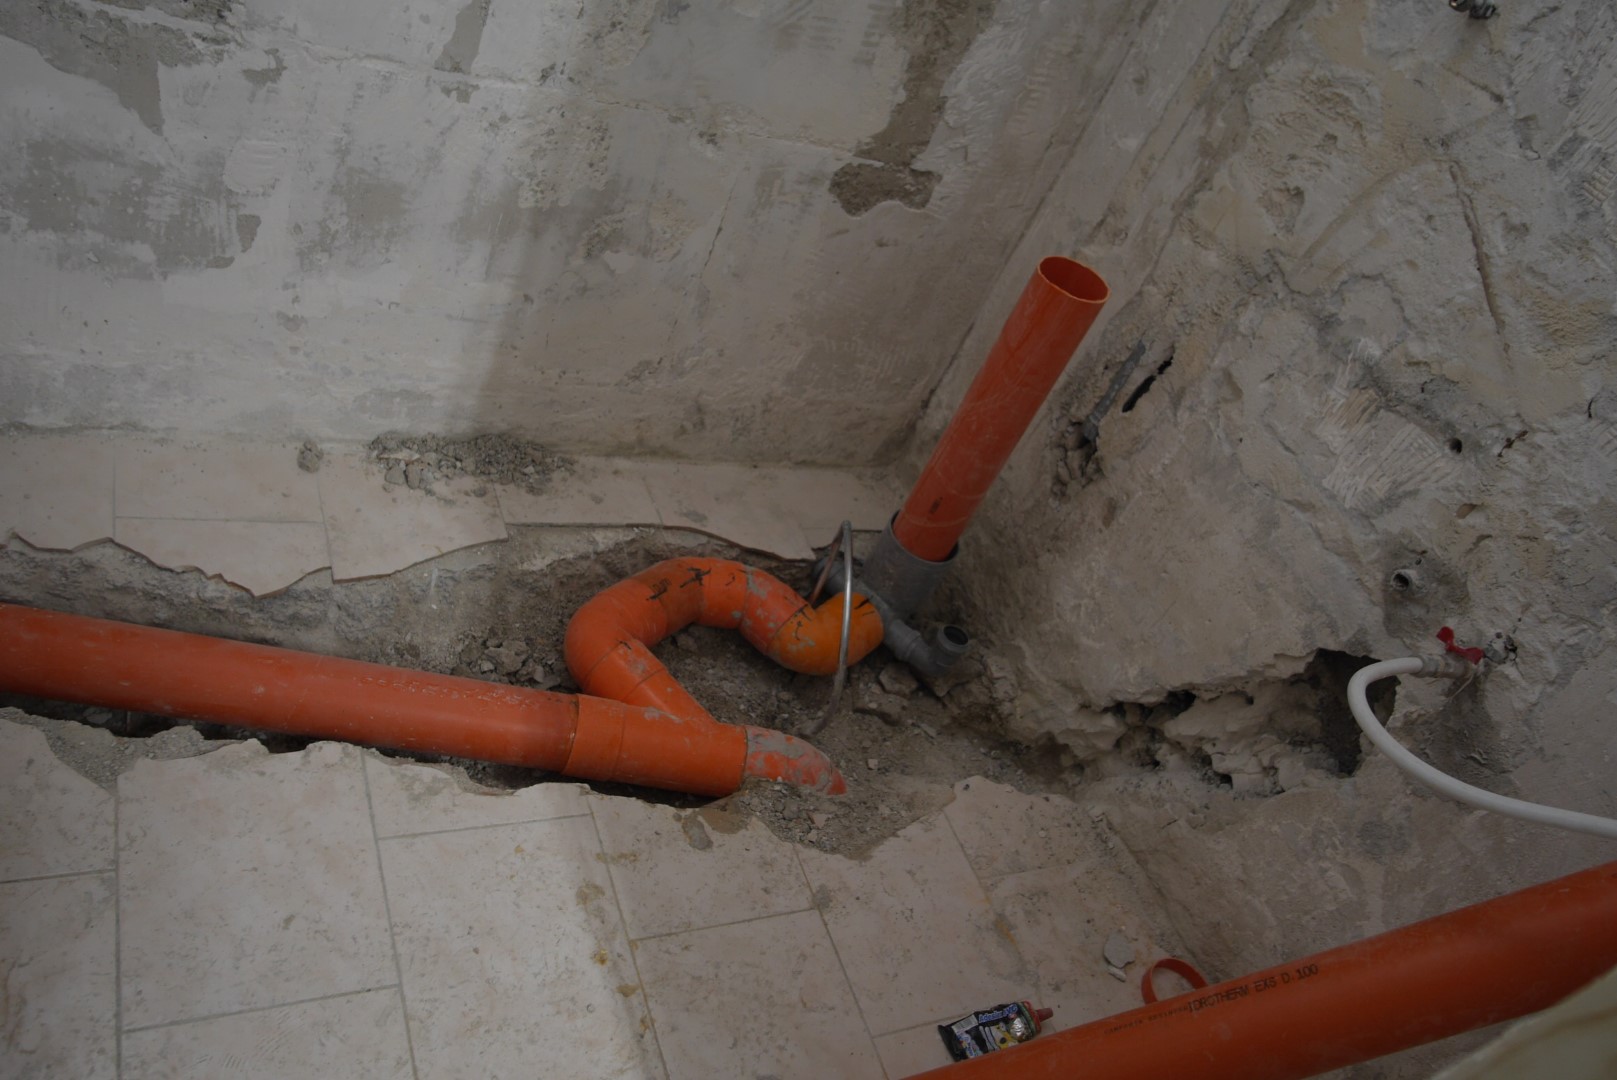
Original bathroom with new waste water tube design. The bridge steel
pipe is made to fix a broke clean water pipe.
View of pipe from garage's public area below. A new PVC pipe is installed to
a tap with its independent control so I can always control our own water
supply.
The plumbing of this building is a bit of a mess as it was constructed in the 1970s. The newly installed PVC tube comes a long way from the source and directly into our space above.
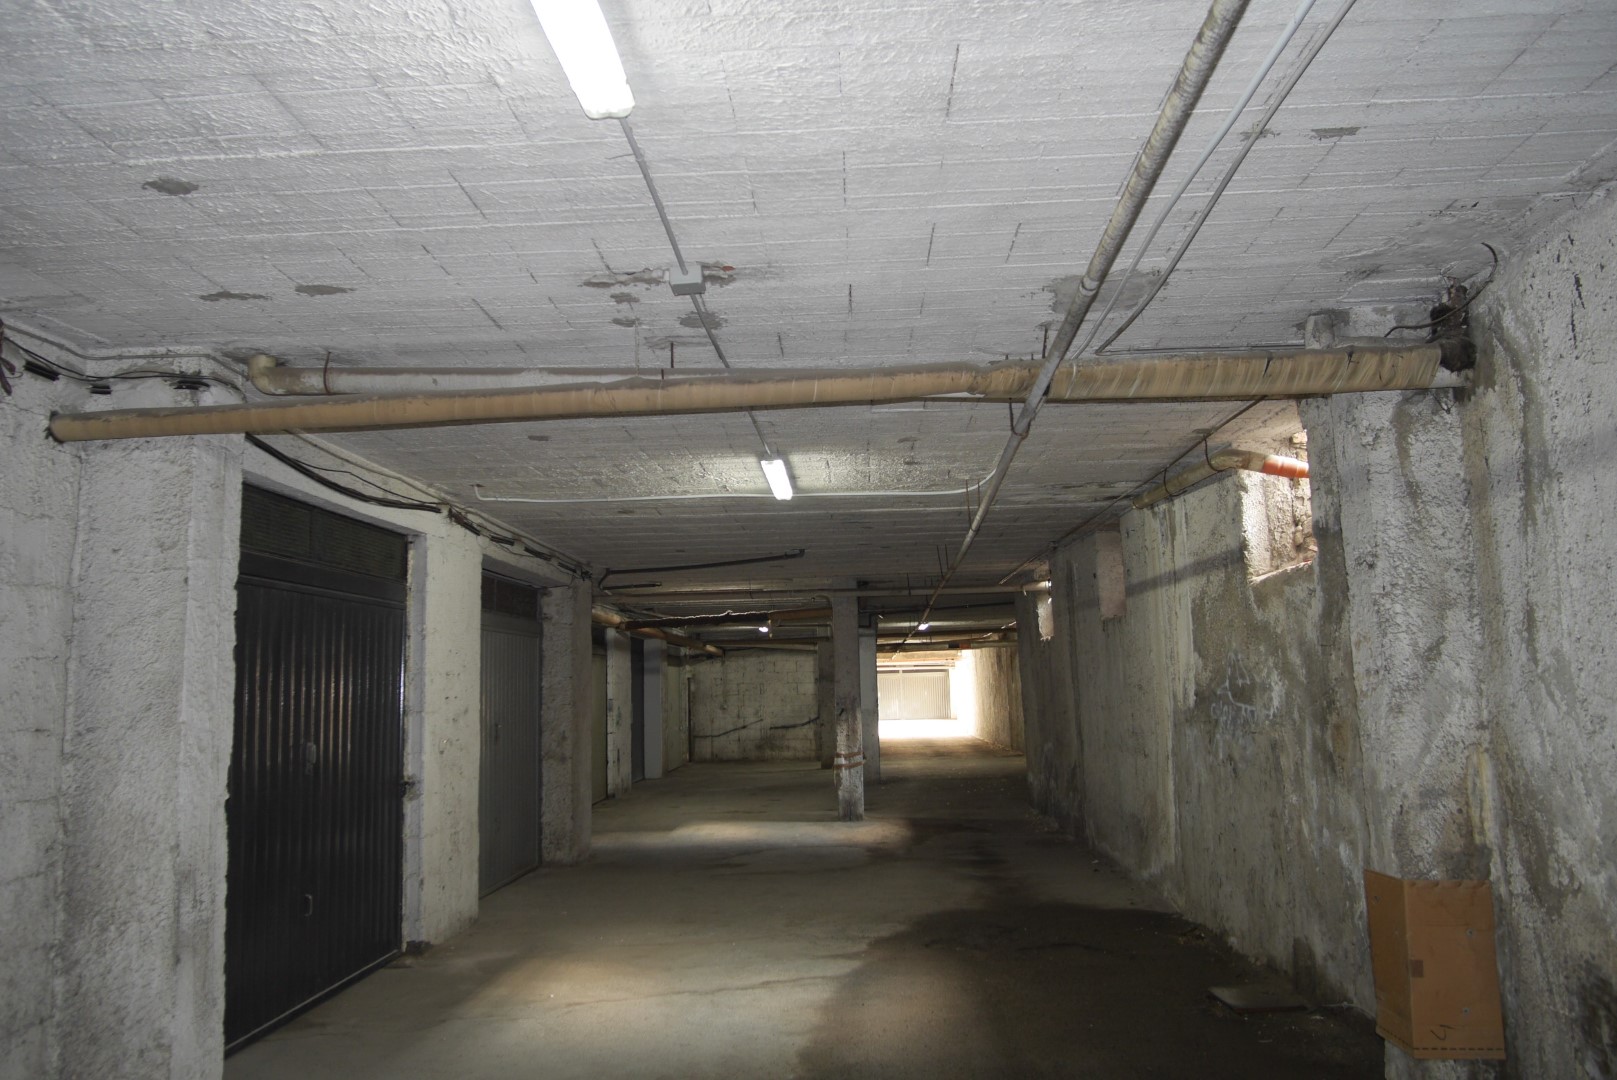
A view of the tubes for water and electrical system from the garage
below
New main water line location from beneath. Now it has also more water
pressure to feed the additional equipment.
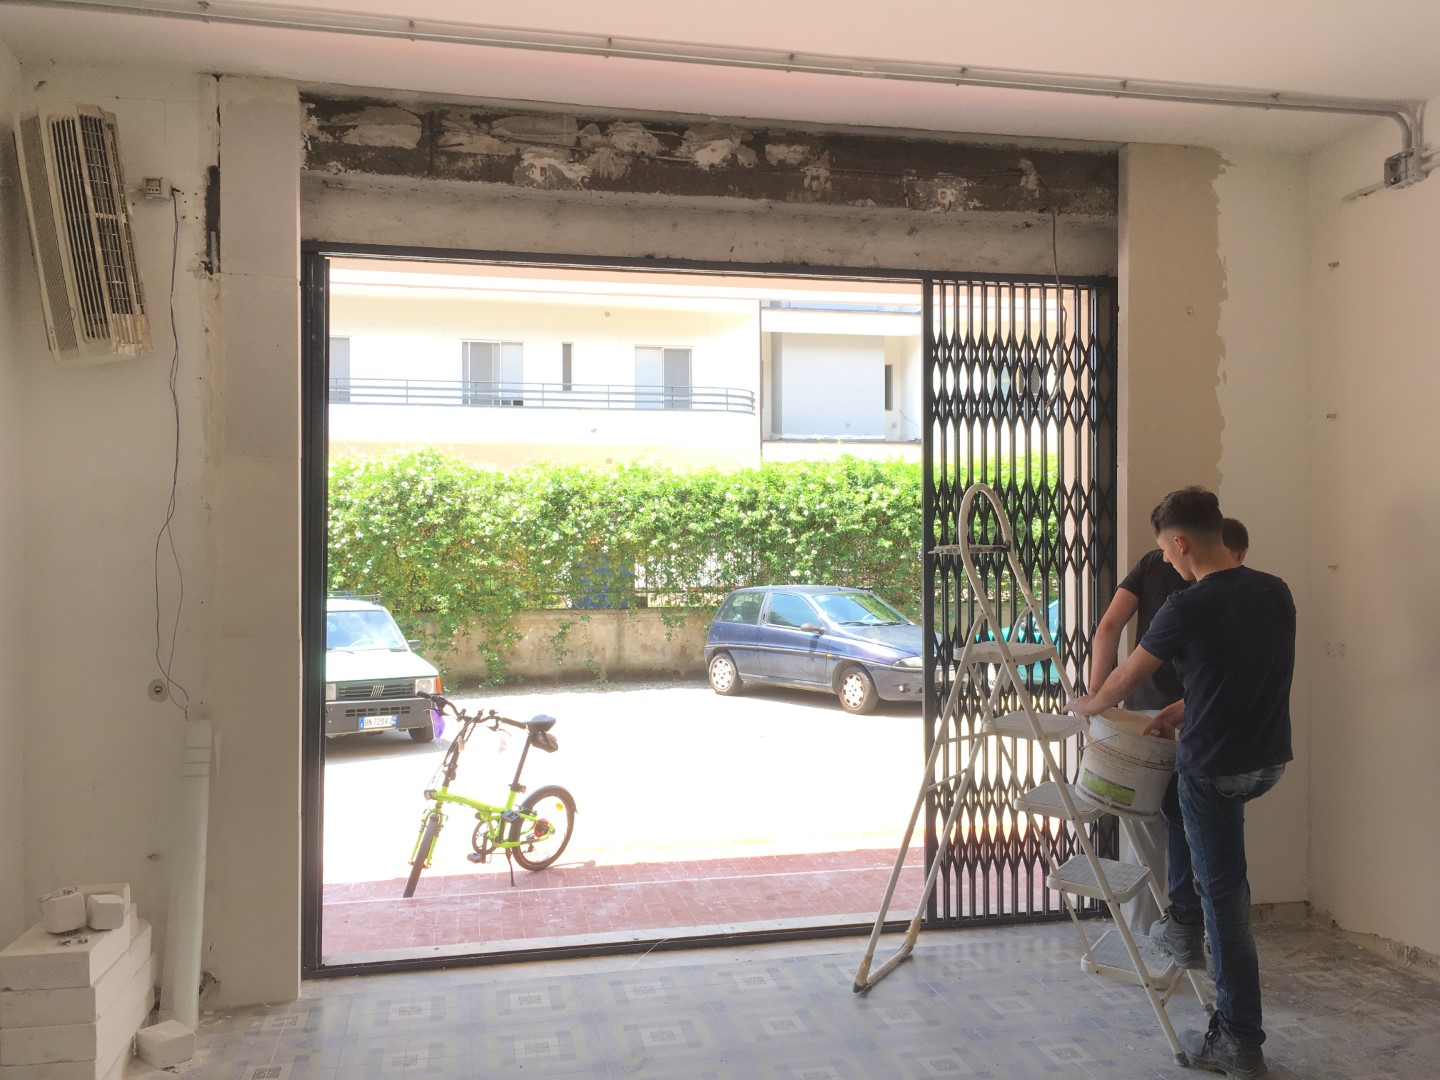
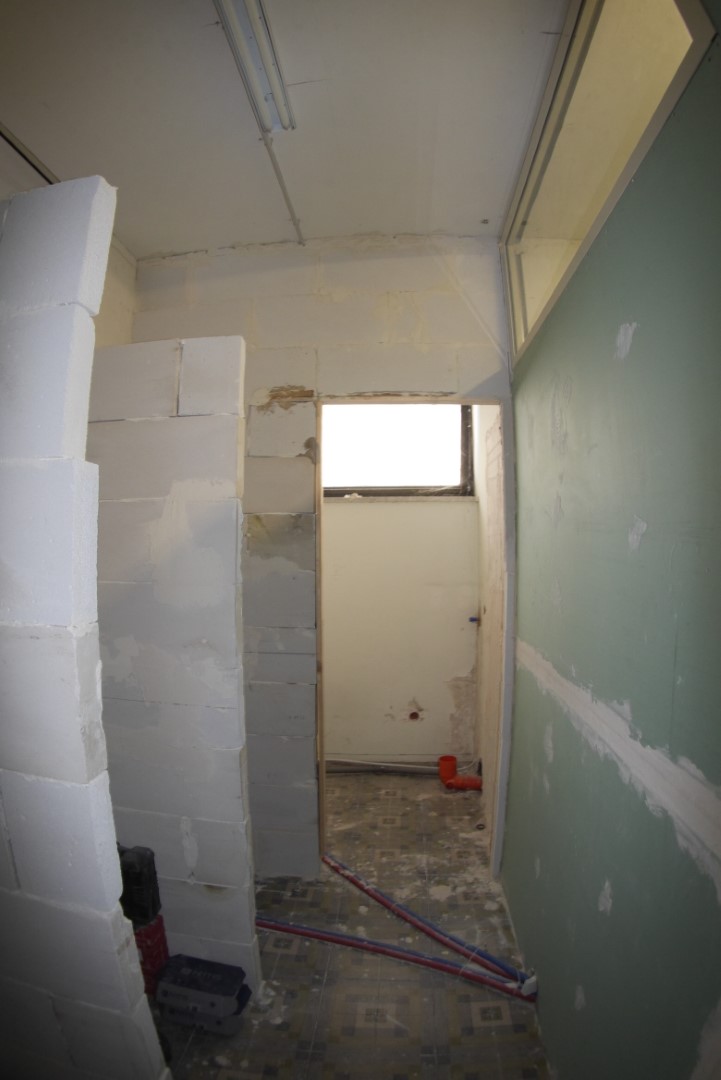
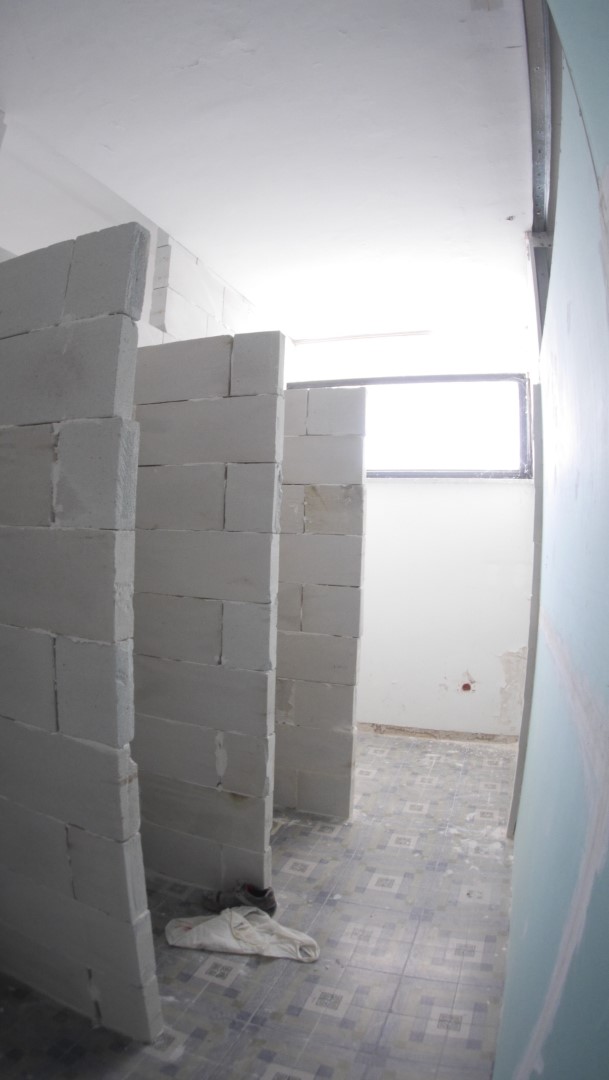
Making the secondard window entrance narrower to fit a new aluminum door and
window frame better
To have a better fitting, view and save a bit of money. I asked the assistant brick layers to use Siporex to make the two sides of the secondary opening a bit narrower (about 40cm reduction on each side).
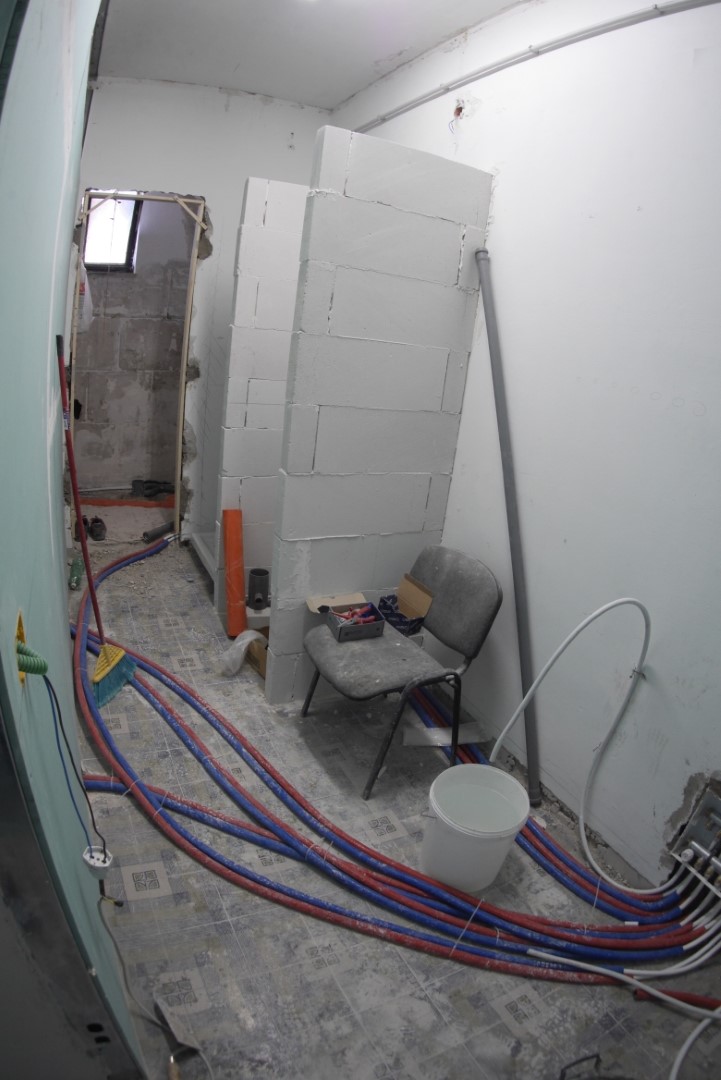
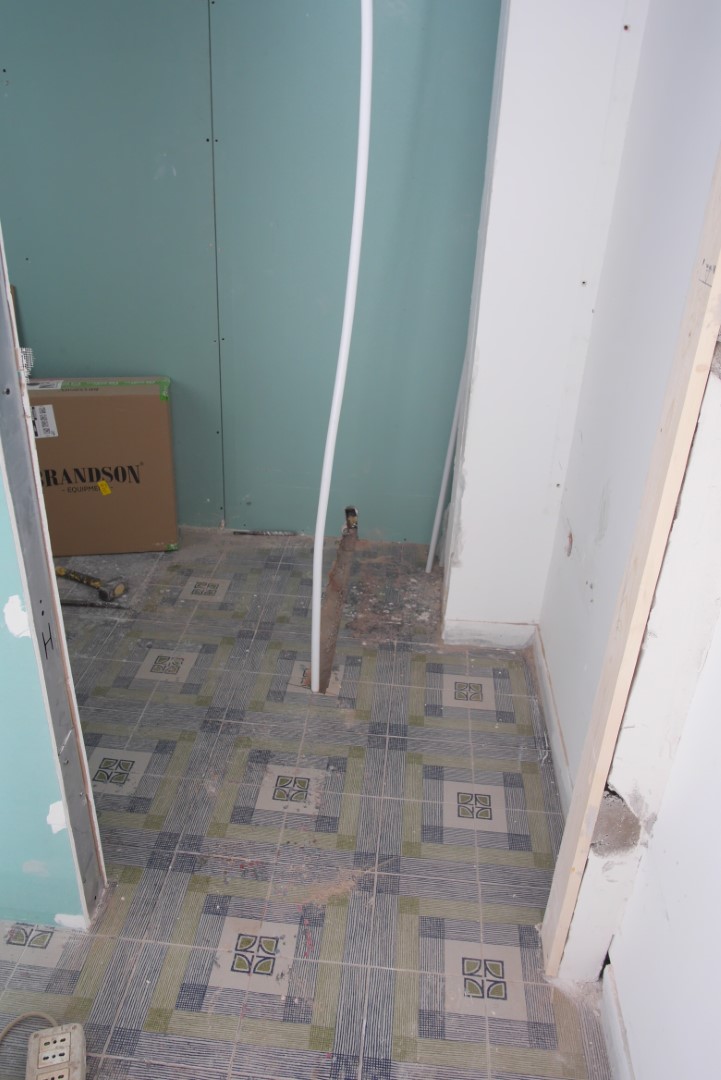
Plumbing for the new change rooms and bathrooms
By the end of week three, the main structures are already in place and the basic physical layout for the electrical wires are set. Week four will bring more serious plumbing work to route the pipes in their designated places. For the walls, the workers will begin putting stucco on mesh net and making other refinement.
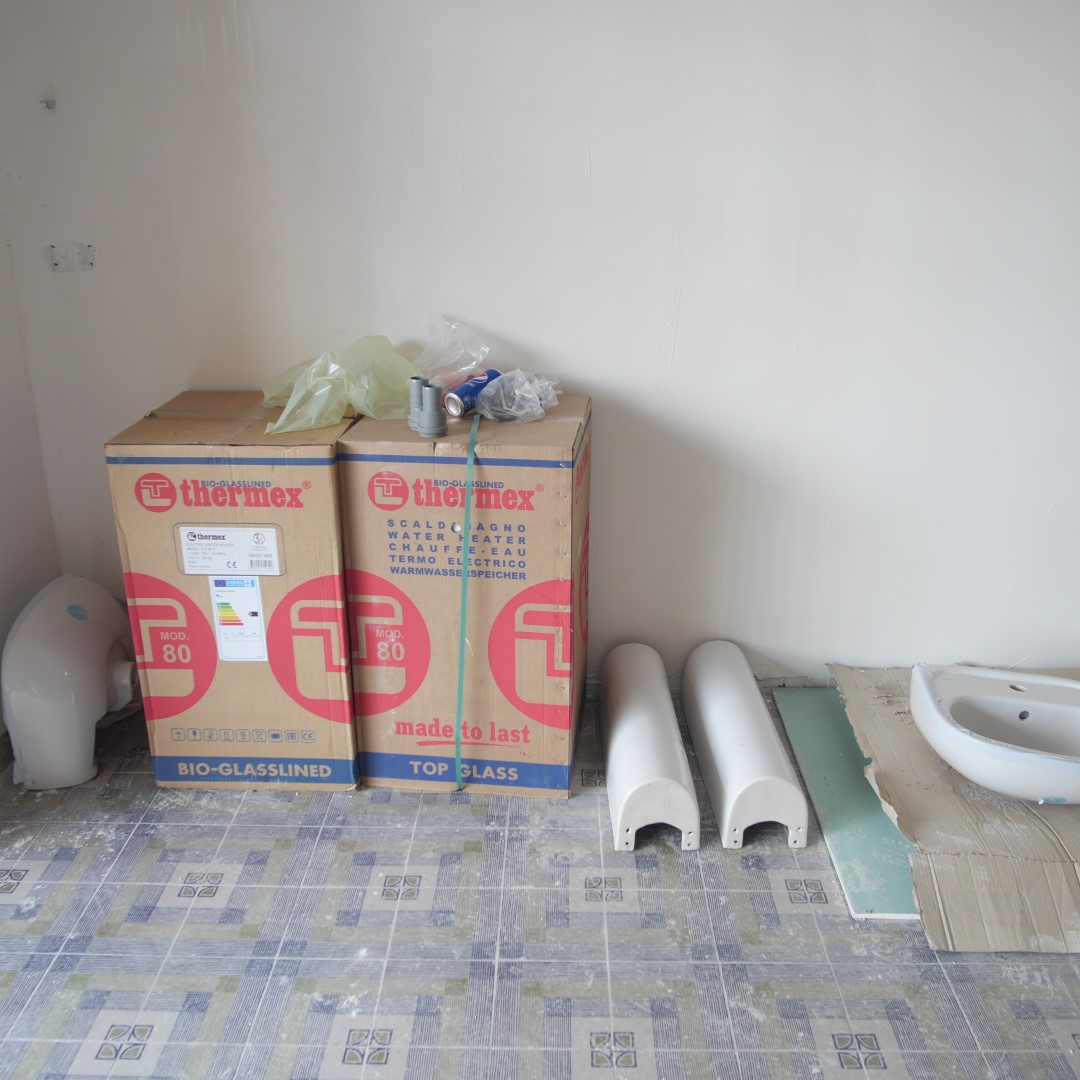
One of the best brands for water heaters: Thermex. These are made in
Russia - that's good enough for me.
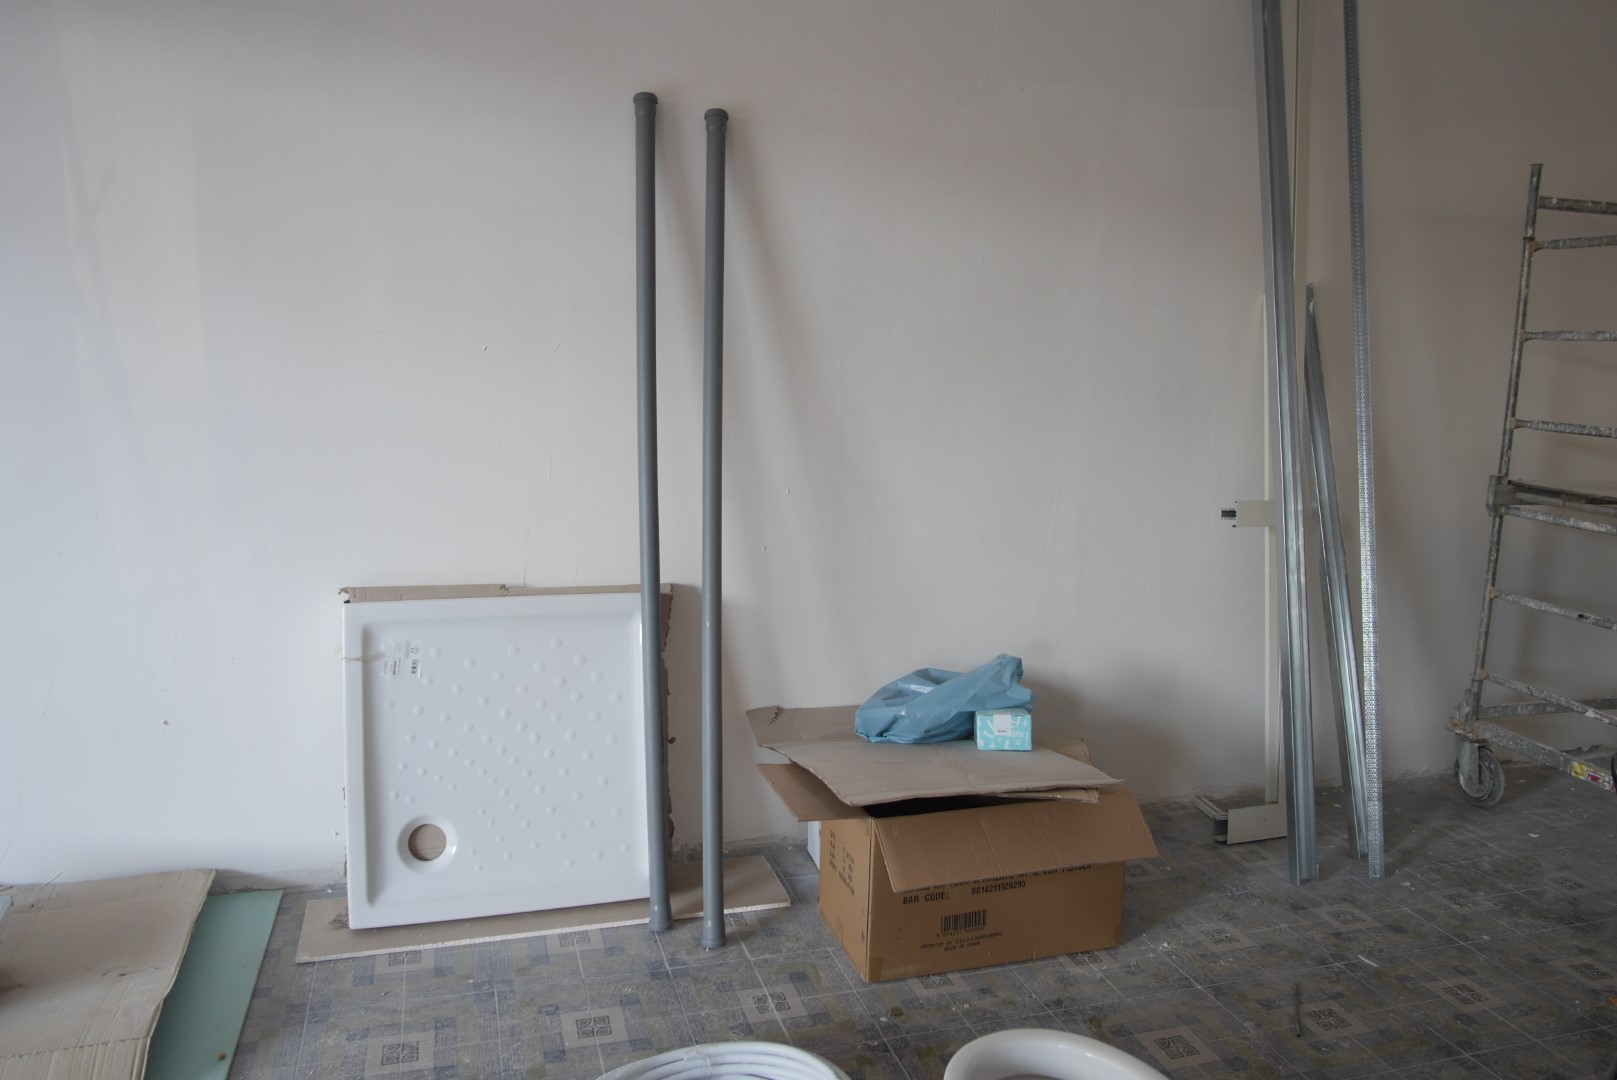
Shower plates and PVC pipes
With most of the foundational work finished for the plumbing. Next week the plumber expects to put the finishing touch on the foundational work. Then the bricklayer and his crew should pour a mixture of concrete and sand over the plumbing foundation and raise the floors, painting will possibly begin, and tiling for the change rooms and bathrooms too should begin.